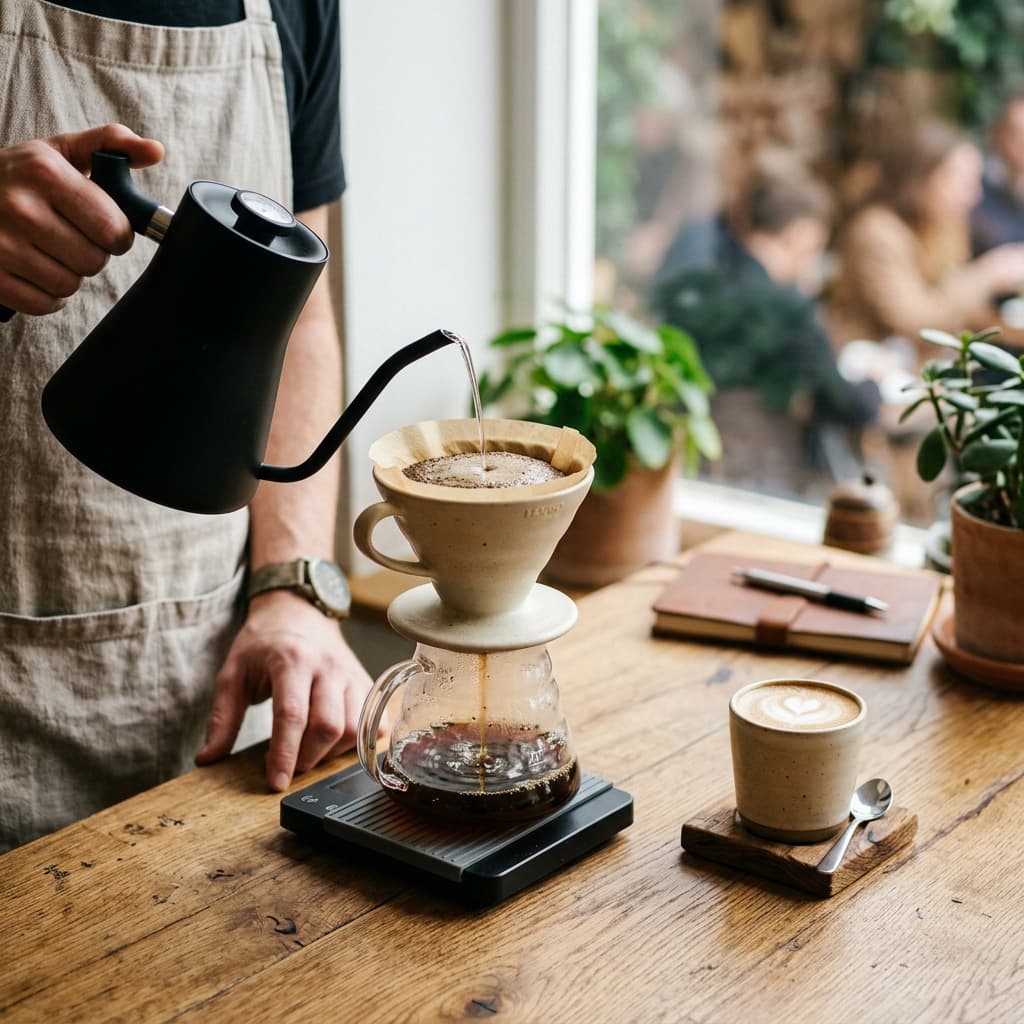
The Art of Pour-Over Coffee: Awakening the Original Flavor
Explore the world of manual coffee brewing. A detailed guide to brewing Pour-Over with a V60, from selecting beans and grinding, to the pouring technique for optimal flavor.
The world of specialty coffee is vast, but few brewing methods offer the clarity, control, and meditation of the Pour-Over.
By manually pouring water over a bed of coffee grounds, you extract the delicate nuances and vibrant notes that are often lost in automated machines.
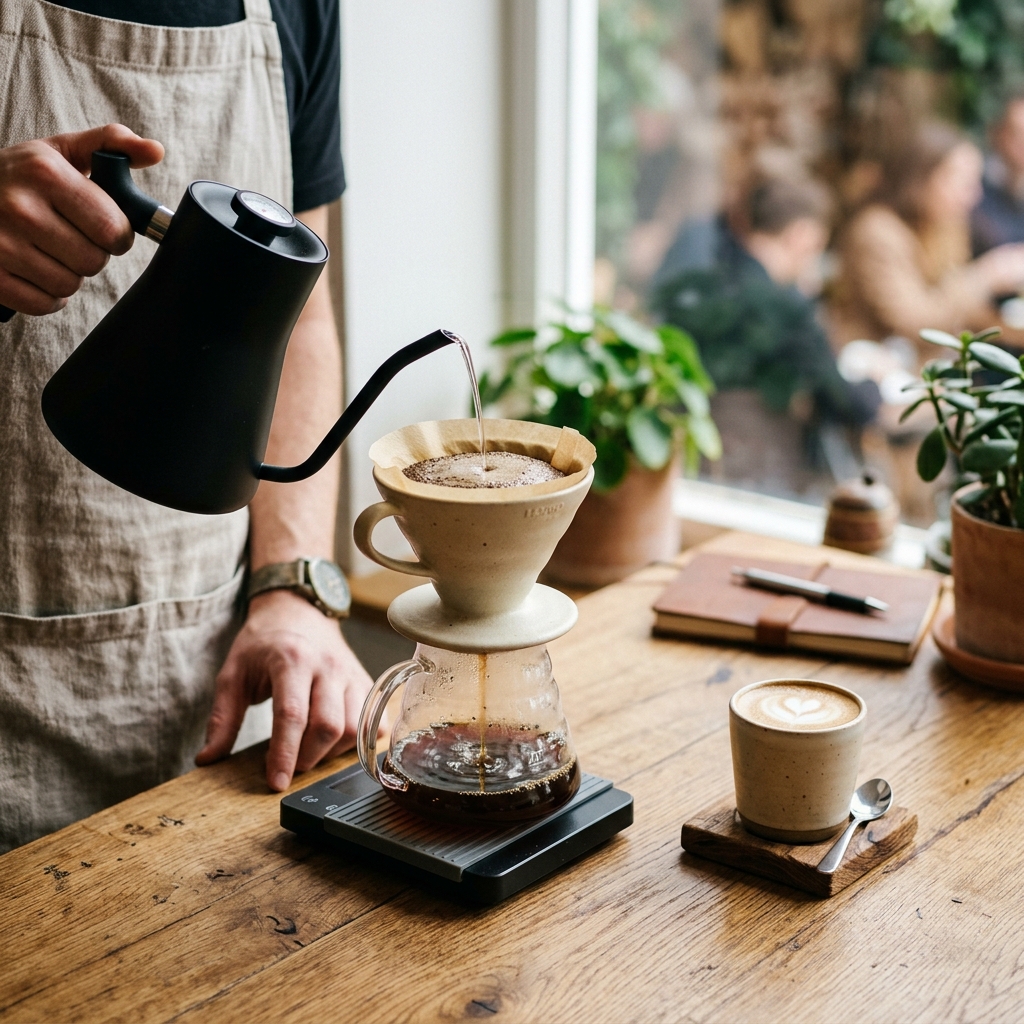
The Philosophy of Slow Coffee
In an era where convenience often trumps quality, pour-over coffee stands as a testament to the beauty of slowing down. The process of brewing a pour-over is not merely about extracting caffeine; it is a morning ritual, an exercise in mindfulness, and a delicate dance between chemistry and art. When you choose to brew manually, you are stepping away from the push-button immediacy of modern espresso machines and pod brewers, opting instead for a method that demands your attention, rewards your precision, and connects you intimately with the journey of the coffee bean from its origin to your cup.
The magic of pour-over lies in its transparency. Unlike immersion methods like the French Press, which can produce a heavy, sometimes muddy body, the pour-over method utilizes a paper filter that captures the coffee's insoluble oils and micro-fines. This results in a cup with unparalleled clarity, allowing the subtle, complex flavor notes—the bright acidity of a Kenyan SL28, the floral elegance of an Ethiopian Yirgacheffe, or the sweet chocolatey comfort of a Guatemalan Bourbon—to shine through brilliantly.
The Science of Extraction: How Water Meets Coffee
To master the pour-over, one must first understand the fundamental science of coffee extraction. When hot water comes into contact with roasted, ground coffee, it acts as a solvent, dissolving and extracting the soluble compounds hidden within the cellular structure of the bean. This extraction process happens in a specific sequence, which is why control over time and water flow is so critical.
- Fruity and Acidic Compounds: These are the lightest and most highly soluble compounds in the coffee. They extract almost immediately upon contact with hot water, bringing brightness and liveliness to the cup.
- Sweetness and Maillard Compounds: These compounds, developed during the roasting process, take a bit more time and energy to dissolve. They provide the body, balance, and sweetness that make a cup of coffee truly enjoyable.
- Bitter and Astringent Compounds: These heavier, less desirable compounds extract last. If the coffee is exposed to water for too long, or if the water is too hot, these compounds overwhelm the delicate flavors, resulting in a harsh, drying, or overly bitter cup.
The goal of pour-over brewing is to extract just enough to balance the acidity and sweetness while stopping the process before the bitter compounds take over. This delicate balance is achieved by carefully managing four core variables: Grind Size, Water Temperature, Brew Ratio, and Agitation.
The Arsenal: Essential Gear for Pour-Over Mastery
You cannot paint a masterpiece without the right brushes. While you don't need to spend a fortune, investing in a few key pieces of equipment is essential for consistency and quality.
1. The Burr Grinder
The most critical piece of equipment in your arsenal is not the brewer itself, but the grinder. A high-quality burr grinder ensures a uniform particle size, which is vital for even extraction. Blade grinders chop the beans indiscriminately, creating a mix of "boulders" (large chunks that under-extract and taste sour) and "fines" (dust-like particles that over-extract and taste bitter). Invest in a solid hand grinder or an entry-level electric burr grinder to instantly elevate your coffee game.
2. The Gooseneck Kettle
Precision pouring is the hallmark of the pour-over method. A gooseneck kettle features a long, slender spout that allows you to control the flow rate and target specific areas of the coffee bed. Without it, you are pouring water haphazardly, leading to uneven saturation, channeling (where water finds the path of least resistance and bypasses the coffee), and ultimately, an inconsistent cup.
3. The Digital Scale
Baking is a science, and so is brewing coffee. A digital scale that measures down to the tenth of a gram allows you to accurately dose your coffee and track the exact amount of water you are pouring. Volumetric measurements (like using scoops or cups) are notoriously inaccurate because the density of coffee beans varies wildly depending on the roast level and origin.
4. The Brewer and Filters
There are many excellent pour-over brewers on the market, but the Hario V60 is arguably the most iconic. Its conical shape, large bottom hole, and spiraling ribs promote a fast, clean flow of water, giving you complete control over the brew time. Pair it with high-quality, unbleached or oxygen-bleached paper filters. Always remember to rinse your filter with hot water before brewing to remove any papery taste and pre-heat the brewer.
The Core Variables: Dialing in Your Brew
Understanding how to manipulate the core variables of brewing will give you the power to troubleshoot and perfect any coffee you encounter.
The Brew Ratio
The brew ratio is the relationship between the weight of dry coffee grounds and the weight of the water used to brew it. A standard starting point for pour-over is 1:15 or 1:16. This means for every 1 gram of coffee, you use 15 or 16 grams of water.
- A lower ratio (e.g., 1:14) will yield a heavier, more concentrated, and intense cup.
- A higher ratio (e.g., 1:17) will yield a lighter, more tea-like, and delicate cup.
Water Temperature
The ideal water temperature for brewing pour-over generally falls between 90°C and 96°C (195°F - 205°F).
- Light roasts, which are denser and harder to extract, require hotter water (94°C - 96°C) to fully dissolve their complex, fruity compounds.
- Dark roasts, which are more porous and prone to bitterness, benefit from cooler water (88°C - 92°C) to prevent the extraction of harsh flavors.
Grind Size
For a V60, you are generally aiming for a medium-fine grind, roughly the consistency of sea salt or coarse sand.
- If your coffee tastes sour, salty, or lacking sweetness (under-extracted), your grind is likely too coarse. The water flowed through too quickly, failing to extract the sweet compounds. Adjust your grinder to a finer setting.
- If your coffee tastes bitter, dry, or astringent (over-extracted), your grind is likely too fine. The water was trapped in the coffee bed for too long, extracting the undesirable bitter compounds. Adjust your grinder to a coarser setting.
Agitation
Agitation refers to how much the coffee grounds are disturbed during the brewing process. Pouring aggressively from a height increases agitation, which speeds up extraction. Pouring gently and closely to the surface decreases agitation. Finding a consistent pouring technique is crucial for repeatable results.
The Ritual: Step-by-Step V60 Technique
This technique is designed to be highly repeatable and focuses on even extraction. We will use a standard 15g dose of coffee to 250g of water (a 1:16.6 ratio).
Preparation
- Heat your water to your desired temperature (let's say 94°C for a light-medium roast).
- Place your paper filter into the V60, set it on your carafe or mug, and place the whole setup on your scale.
- Rinse the filter thoroughly with hot water. This removes the paper flavor and pre-heats your vessel. Discard the rinse water.
- Grind 15g of coffee to a medium-fine setting. Add it to the V60. Give the brewer a gentle shake to level the coffee bed. This ensures the water hits all the grounds evenly.
- Tare your scale to zero.
Phase 1: The Bloom (0:00 - 0:45)
Start your timer. Pour 45g to 50g of water evenly over the coffee bed. Your goal is to saturate all the dry coffee as quickly as possible. As the hot water hits the coffee, you will see it bubble and expand. This is the "bloom"—the rapid release of carbon dioxide gas trapped inside the beans during roasting. If you don't allow the coffee to bloom, this gas will repel the brewing water, leading to uneven extraction. Let the coffee bloom for 45 seconds. You can gently swirl the brewer once or twice to ensure no dry pockets remain.
Phase 2: The First Main Pour (0:45 - 1:15)
At the 45-second mark, begin your first main pour. Starting from the center and moving outward in slow, concentric circles, pour water until your scale reads 150g. Avoid pouring directly on the paper filter at the edges, as the water will bypass the coffee. Keep your pour rate steady and consistent. You should finish this pour around the 1:15 mark.
Phase 3: The Final Pour (1:15 - 1:45)
Once the water level has dropped slightly (but before the coffee bed is exposed), begin your final pour. Using the same gentle, concentric motion, pour until the scale reaches your target weight of 250g. You should finish pouring around the 1:45 mark.
Phase 4: The Drawdown (1:45 - 2:30/3:00)
Give the V60 one final, gentle swirl. This knocks down any coffee grounds clinging to the walls of the filter and flattens the coffee bed, promoting an even, flat surface at the end of the brew. Now, wait for the water to completely drain through the coffee (the drawdown). The total brew time should land somewhere between 2 minutes and 30 seconds to 3 minutes.
If the water drains much faster (e.g., 2:00), your grind is likely too coarse. If it takes significantly longer (e.g., 3:45), your grind is likely too fine or your grinder produced too many fines that clogged the filter.
Troubleshooting the Cup
Even with perfect technique, not every cup will be flawless on the first try. Your palate is your best guide.
- The coffee is sour and weak: This is classic under-extraction. The water didn't pull enough out of the coffee. To fix this, try grinding finer, using hotter water, or increasing the brew ratio slightly.
- The coffee is bitter and dry: This is over-extraction. You pulled too much out of the coffee, including the harsh compounds. Try grinding coarser, using cooler water, or pouring slightly faster to reduce the total contact time.
- The coffee is hollow or papery: Ensure you are rinsing your filters thoroughly. It could also be a sign of channeling, where water bypassed the coffee entirely. Focus on a more gentle, even pour next time.
Exploring the World Through Coffee
Once you have mastered the basic technique, the true joy of pour-over begins: exploring the vast world of single-origin coffees. The pour-over method highlights the unique terroir (the environmental factors that affect a crop's phenotype) of different growing regions.
You will learn to distinguish the vibrant, tea-like qualities of washed Ethiopian coffees, with their notes of jasmine and bergamot. You will appreciate the heavy, syrupy body and intense berry flavors of natural processed coffees from Central America. You will discover the complex, savory, and earthy profiles of beans from Indonesia. Every bag of coffee is a new adventure, a new puzzle to solve, and a new opportunity to refine your palate and your technique.
Conclusion: A Ritual, Not Just a Routine
The art of the pour-over is not about striving for an objective perfection, but rather about engaging in a process. It is about taking ten minutes out of your morning to be present, to focus on a singular task, and to create something beautiful with your own hands. In a world that constantly demands speed and efficiency, the slow, rhythmic pouring of a kettle over a bed of blooming coffee is a quiet rebellion. It reminds us that some things cannot be rushed, and that the best flavors—much like the best moments in life—require patience, care, and a little bit of art.